Streamlining Visual Presentations with Frame Picture Mockup
In the fast-paced world of digital design and marketing, the gap between a completed project and client approval often hinges on presentation. A brilliant logo, a striking photograph, or a compelling poster can lose its impact if displayed flatly on a screen without context. This is where the Frame Picture Mockup becomes an indispensable asset in your creative toolkit. It bridges the divide between raw digital files and tangible, real-world application, allowing designers, marketers, and entrepreneurs to showcase their work with professional polish and realism.
Integrating a high-quality mockup into your workflow is not merely about aesthetics; it is a strategic move that enhances communication, saves time, and elevates perceived value. Whether you are a freelancer pitching to a new client, a small business owner updating your online store, or an educator preparing visual materials, understanding how to effectively utilize this resource can transform your output from good to exceptional.
The Role of Realism in Design Communication
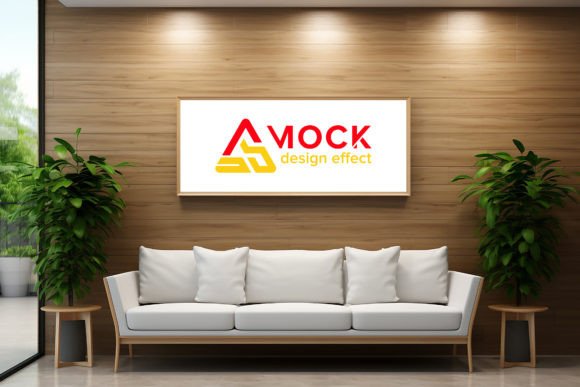
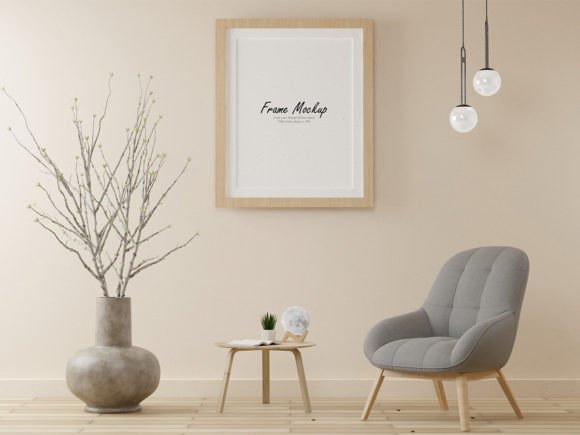
When presenting a design concept, stakeholders often struggle to visualize how a two-dimensional image will look in a physical space. A flat JPEG of a poster on a white background lacks depth, shadow, and environmental context. The Frame Picture Mockup solves this problem by providing a realistic 3D view. It places your artwork within a carefully crafted environment, complete with lighting effects, textures, and perspective.
This level of realism serves several critical functions in the design process:
- Enhanced Client Confidence: Clients are more likely to approve designs when they can see them as they would appear in a gallery, office, or home. It reduces ambiguity and minimizes the back-and-forth revisions caused by misinterpretation.
- Professional Branding: For photographers and artists selling prints, displaying work in a frame suggests quality and readiness for purchase. It elevates the product from a digital file to a desirable physical object.
- Contextual Accuracy: It allows you to test how colors and contrasts interact with different lighting conditions and frame styles, ensuring the final print meets your expectations before production.
By using a mockup, you are not just showing a design; you are selling an experience. This shift in perspective is crucial for anyone involved in visual storytelling, from bloggers creating featured images to publishers designing book covers.
Technical Advantages of Smart Object Integration
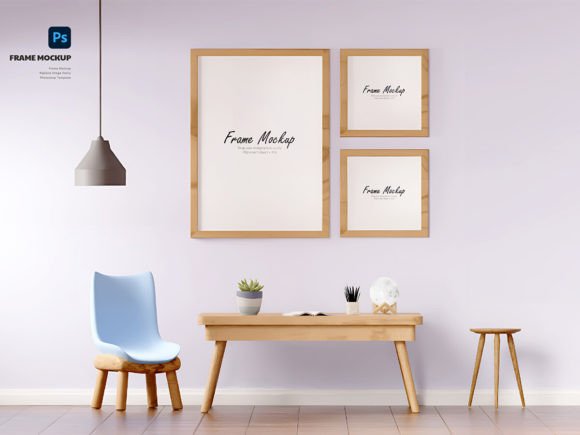
The true power of this specific Frame Picture Mockup lies in its technical construction. Delivered in PSD (Photoshop) format at 300 dpi, it is built for efficiency and precision. The cornerstone of its usability is the Smart Object feature. For those unfamiliar with this Photoshop capability, Smart Objects allow you to embed image data non-destructively. This means you can replace the placeholder image with your own design without altering the underlying structure, shadows, or reflections of the mockup.
Here is why this feature is a game-changer for workflow efficiency:
- Speed: Instead of manually masking, adjusting perspectives, and adding drop shadows for every new design, you simply double-click the Smart Object layer, paste your artwork, save, and close. The mockup updates instantly.
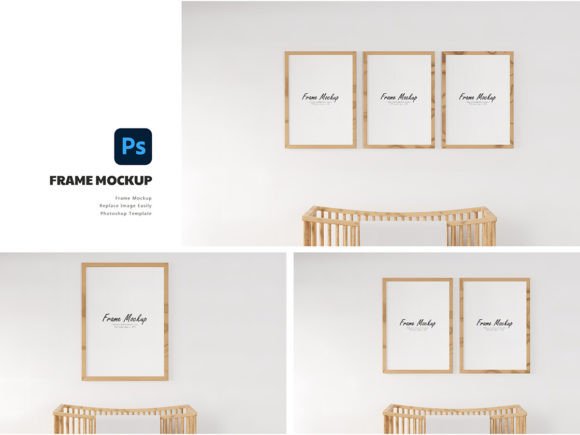
- Consistency: When presenting multiple options to a client, you can maintain identical lighting and framing across all variations. This ensures that the comparison is fair and focused solely on the design elements, not the presentation style.
- Quality Preservation: At 300 dpi, the mockup supports high-resolution outputs suitable for both web display and print-ready proofs. Your designs remain crisp and detailed, avoiding the pixelation that often plagues lower-quality templates.
This seamless integration allows creatives to focus on what they do best—designing—rather than getting bogged down in tedious photo manipulation tasks. It turns a potentially hour-long editing session into a matter of minutes.
Integrating the Mockup into Your Workflow
To maximize the benefits of the Frame Picture Mockup, it should be viewed as part of a broader production pipeline rather than an afterthought. Here is how you can incorporate it effectively at various stages of your projects.
Pre-Production Planning
Before you even begin the final design, consider the end presentation. If you know your artwork will be framed, choose aspect ratios and compositions that fit standard frame dimensions. Using the mockup early in the process can help you visualize cropping and focal points. For instance, a photographer might test different crops of a landscape shot within the frame to see which composition balances best with the matting and border.
Client Presentations and Pitches
When preparing a pitch deck or a portfolio update, replace generic placeholders with your actual work using the mockup. This demonstrates attention to detail and professionalism. For marketers, this is particularly useful when creating social media content. A post featuring a framed piece of art is more engaging and shareable than a flat image, leading to higher engagement rates and better conversion potential.
E-Commerce and Product Listings
For online sellers, product images are the primary driver of sales. Using the Frame Picture Mockup allows you to create lifestyle images without the cost and logistics of physical photoshoots. You can generate multiple variations—different artworks, different room settings if available, or different frame colors—to populate your online store. This variety helps customers visualize the product in their own spaces, reducing return rates and increasing customer satisfaction.
Best Practices for Optimal Results
While the tool is designed for ease of use, adhering to a few best practices will ensure your final output is flawless.
Lighting and Color Matching: Even with a smart mockup, pay attention to the ambient light in the scene. If the mockup features warm, golden-hour lighting, ensure your design’s color palette complements it. Cool, clinical designs might clash with a cozy, warm-toned frame setting. Adjusting the brightness and contrast of your inserted image slightly can help it blend more naturally with the mockup’s environment.
File Organization: Keep your PSD files organized. Name your Smart Object layers clearly (e.g., "Replace_Artwork_Here") to avoid confusion, especially if you are working in a team. Save versions of your mockups with different designs as separate files to maintain a clean history of your iterations.
Resolution Management: Always start with high-resolution source files. Since the mockup is 300 dpi, inserting a low-resolution web image will result in a blurry final product. Ensure your artwork is scaled correctly within the Smart Object to maintain sharpness.
Long-Term Value and Versatility
Investing in a high-quality Frame Picture Mockup offers long-term value. Unlike a one-time photoshoot, which is limited to the specific items and conditions present on that day, a digital mockup is reusable indefinitely. You can use it for hundreds of projects, adapting it to various niches—from fine art photography to corporate signage, from educational posters to interior design proposals.
Furthermore, it fosters consistency in your brand identity. By using the same high-standard presentation style across all your communications, you build a recognizable and trustworthy brand image. Clients and customers come to associate your name with quality and professionalism, simply because you take the extra step to present your work realistically.
In conclusion, the Frame Picture Mockup is more than just a template; it is a strategic tool that enhances clarity, efficiency, and appeal in visual communication. By leveraging its Smart Object features and integrating it into your planning and presentation workflows, you can elevate your creative output, streamline client approvals, and ultimately drive better results for your business or personal projects. Embrace this resource to bridge the gap between digital creation and real-world impact.